Fragging is one of the primary hobbies and also a source of income for any reef enthusiast. No one wants to ignore the possibility of a few extra bucks, right?
Even if you are not an experienced reefer and you wish to begin reefing, then zoanthids are one of the easiest corals that you can start with. There is a large variety of them available at stores.
They don’t need too much attention, and fragging them is easy. To make it simpler for you, we have carefully explained with details in this guide on how to frag Zoas.
Additional Read: Fragging Mushroom Corals

Why should you frag Zoas?
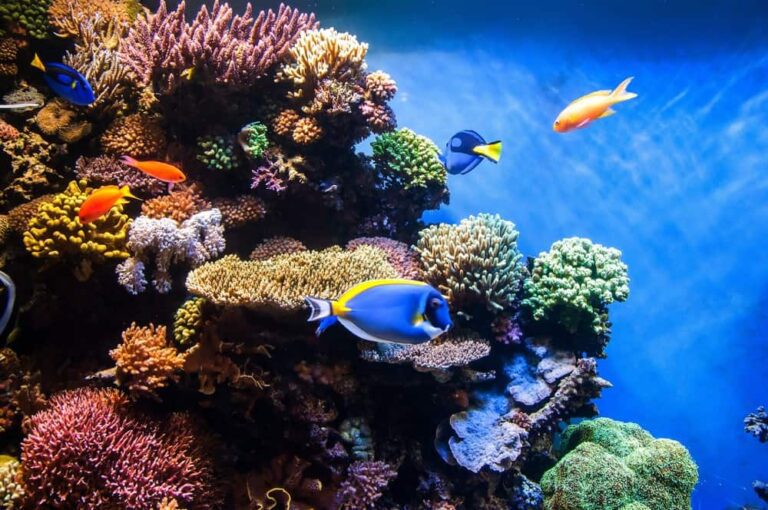
Having corals in your aquarium can make it look very lively and vibrant. Zoanthids are one of the most diverse and beautiful corals. They are easy to cultivate and don’t require a lot of labor to maintain and sustain them.
However, they tend to grow at a swift rate by using mat-like outgrowths called Tolons. The newly created frags can grow into mother colonies in a matter of a few weeks.
This accelerated growth of the Zoas can disturb the ecosystem inside the water tank. They can cause rapid depletion of nutrition for other aquatic occupants in the tank and cause an ionic and pH imbalance in the aquarium.
Fragging creates more room for the plants and fishes to grow. Also, it is beneficial for commercial purposes.
Safety measures
Zoanthids contain palytoxin. It is a deadly toxin that can cause some severe injuries. When you are working on the corals, the chances of getting exposed to this chemical is quite high.
Also, in some of the cases, it has been claimed to be airborne as well. Exposure to this toxin while fragging can cause multiple symptoms such as:
- Burning or tingling sensation
- Metallic taste
- Hypertension
- Respiratory depression
- In extreme cases, coma
That is why taking proper precautionary steps is very important. For this, you will need:
Items needed for fragging Zoas
Before you start, you need to have the list of following items by your side for the procedure.
- A scalpel
- A pair of tweezers
- Coral glue
- Frag plugs
- Three clean containers
- Coral dip (We prefer seachem)
- Aquarium water
How to Frag Zoanthid Corals: Step-by-Step Guide
Step 1:
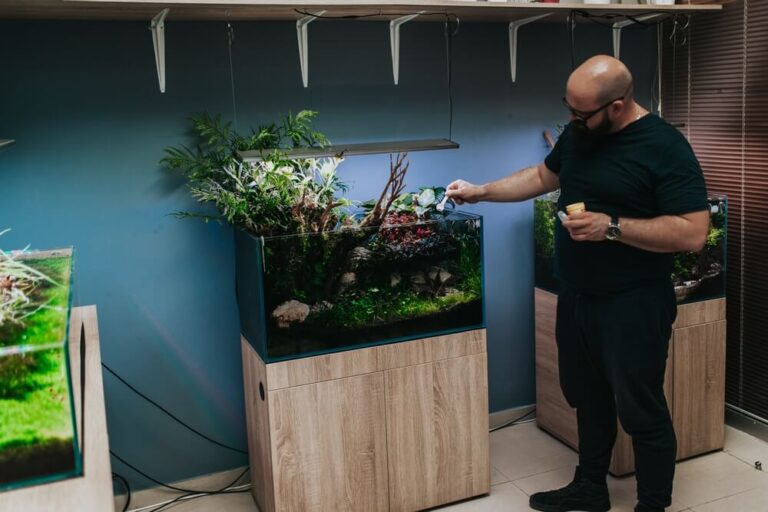
First, you need to set up a working station.
- Choose a well-lit and clean area where you can clearly see when you are working.
- Zoas mostly consist of liquid, so when you are dissecting it, there are chances that the liquid may get sprayed onto your eyes or skin. Therefore, it is essential to wear safety gear before you begin.
- Then, add aquarium water to the three containers. Each of the containers is necessary for a specific purpose.
- The first container is where you put the zoanthids that you have selected for dissection.
- In the second container, you need to mix the coral dip with the aquarium water. This place is where you will be putting the zoanthids after you frag them.
- The third and final container is needed to rinse off the newly cut frags before you introduce them into the tank.
Step 2:
After the work station has been set up, choose a ‘mother’ colony. From each colony, you can dissect at least 5 to 6 sections. Depending on that, you can decide on how many frags you want.
- With the help of a pair of tweezers, grab the specimen from the aquarium.
- Select the section on the coral where you are going to make the cut. Make sure that the polyps are retracted, so that you can easily make the incision.
- Using the scalpel, cut the section under the polyps where the tissue is connecting to the main colony.
Step 3:
After you have separated a piece from the main colony, then
- Take a frag plug and apply a small dab of the coral glue.
- Then, place the frag on top of the glue.
- As you keep dissecting more and more frags, you will notice a good amount of slim oozing out of the colony. This is palytoxin, which why it is vital to wear protective eye gear and gloves while working on them.
- Dip the plug into the second container.
Step 4:
After you have separated all the frags, add the main colony into the dip.
- The frag plugs need to be dipped in the solution for about 15 to 30 minutes.
- Next, transfer the plugs from the second container to the third one that is meant for rinsing.
- After rinsing them in aquarium water, you can introduce them to the aquarium.
Step 5:
Allow the mother colony to rest for a while in the container. After a few days, the retracted polyps of the Zoas open.
Afterward, it can be transferred into the water tank, and soon it begins forming itself again.
Note:
- It is always necessary to properly clean your tools after you frag to keep them sharp and to prevent oxidation
- When you are cutting out the frag section, you should be careful not to damage the surrounding parts of the colony
- If you are unable to purchase frag plugs, then you can also use rocks from your aquarium as a substitute
- Choose glue that sets quickly, or else the frags will not attach properly to the plugs
- While introducing the frags into the aquarium, please place them in a mid-current section. This placement prevents the detachment from the plugs or rocks
Finally,
Fragging Zoas is an easy task, and you don’t need any prior expertise to perform it. The process doesn’t require any expensive materials or gadgets.
Not only is it beneficial for the aquarium, but it also has excellent economic prospects. So, why not keep your tank-occupants healthy, and make a few bucks along the way.
Remember, the dissection of the colony has to be done before it overpopulates the aquarium and starts to suffocate other occupants by depriving them of necessities that they need to survive.
In this article, we have mentioned in details everything that you need to and the step by step guide on how to frag Zoas.
We hope this guide can lead you to safe reef-keeping, and some money as well.