A pond in your backyard is a thing of beauty. Having a pond increases the aesthetics of your household. Do you know what adds to this already beautiful landscape you have? A beach.
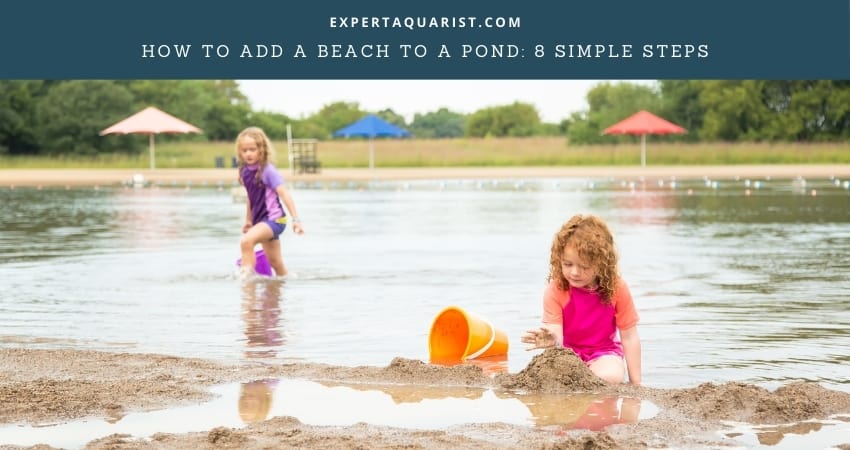
Although associated with being natural and with seashores, you can not only create a beach yourself but also add it to a pond as well. This will create an opportunity for you to sunbathe near your pond while making activities like swimming and fishing even more convenient.
Although you can create a beach artificially, it’s not like you can just dump sand onto the side of your pond and be done with it. There are certain steps you have to follow in order to make a beach. Let’s see how to add a beach to a pond and what steps to follow.
How to add a beach to a pond: 8 Easy Steps
If you are looking for a way to increase the value of your property or just want to enjoy more water activities, adding a beach to your pond is an excellent idea. The process is easy and can be completed in just one day by following these Eight steps. So, without further ado, let’s see the complete procedure of adding a beach.

1. Verify local rules and restriction
The very first thing you should check about is the rules and regulations of building a beach in your local area. Also, check if there are any restrictions as well. You don’t want to get into legal trouble while making a beach for recreational purposes as it will ruin the whole thing over nothing.
To do the verification, get in touch with the local zoning board. In some cases, you can also contact the Department of Natural Resources to check whether you can build a beach around your pond.
Sometimes there are some regulations to follow in the case of water and fish as well, depending on the area you are in. Also, if there are any endangered species of animals or plants in or near your area, you will have to obtain a building permit. The punishment of harming these species is very severe, even if it is done unintentionally.
Also, it will be handy if you know the dimensions of your pond, the sand you will be using, the equipment, etc. It will make the aforementioned verification and permit obtaining process easier.
2. Methods for controlling weeds
After you have done all the paperwork, don’t go straight into dumping sand onto the ground. First, you have to prepare the ground itself. And the first step for this is to figure out a method of controlling the weed. Because if left unattended, this weed will grow and protrude through the sand, making it less eye-pleasing.
There are various options to prevent weed from growing. You can use a plastic liner, which is one of the most common methods of weed control. You can also use sand mats for this purpose. But nowadays, some areas have restrictions on using liners for weed control. If you live in such areas, you can also use special herbicides.
One thing you have to keep in mind is the dimensions and space that the weed barrier has to cover. Otherwise, you may have to make several trips to the home depot or you can end up buying too much stuff.
3. Removing the weed
Now that you have the means to prevent weeds from growing, you still have to uproot the ones that are already present. This weed removal process may end up hogging most of your time if the area of the beach is big. You can do this manually with a rake or a shovel. This will take much time and effort.
You can also use a rototiller, backhoe, or front loader. These will save time but also will make a huge dent in your wallet. There’s one thing you can do which will save you both time and money. Instead of buying a rototiller, a backhoe, or a front loader, you can just rent one from a nearby hardware store.
4. Installing a shade cloth
After ensuring that no weed is present on the ground neither can they grow, now it is time for making the ground suitable for placing sand. If the ground in your garden is moist, like clay soil, it will absorb the sand. You can prevent this by placing a shade cloth over the area you are intending to make a beach.
It is possible to purchase this shade cloth in various hardware stores and home depots.
5. Creating a retaining wall
All your work will go in vain if your sand is just gradually washed away by the pond water. As sad it may be, this is what will happen if you don’t build some sort of retaining wall for the sand. This wall prevents the sand from going into the water, therefore preserving the beach.
It will be the equivalent of an underwater sandbox. Make sure to mark the area of the barrier with little flags, buoys, or similar things of such sort so that people don’t stub their toes in them while going into the water, for swimming or other purposes.
Building materials for the retainer
While we are on the subject of the retaining wall or barrier, let’s take a look at some of the materials you can use for building this.
- Concrete ties or sleepers: These are long boxes of concrete that are rectangular in shape. You can see them as being the most commonly used material for building things that warrant durability, like various garden boxes, round flower beds and, retainer walls. As they guarantee you durability, they tend to cost a bit more than most other building materials.
- Hardwood and Treated Pine: On the other side of the coin, we have hardwood and treated pine. They are the cheapest of all the options. In contrast to their concrete counterparts, they don’t last very long and have to be replaced periodically. Hardwoods last longer than Pine, but they still have to be replaced from time to time.
- Railroad Ties: They are purposed for withstanding water. Because of this, they might be a great option. If you don’t get the height you want from one piece, you can just put another on top of the previous until you get the height you desire.
- Other Options: Apart from all the aforementioned materials, there are other options for you to use as a building material for a retaining wall as well. You can use landscape timber, cross ties, stone, blocks, sandstone or, even sandbags. The material you want to use ultimately boils down to what your budget is and the desired quality.
6. Purchasing sand
Now that you have done everything to prepare the ground for laying the sand, we have now reached near the business end. The main component of a beach in the sand. There are many options from which you can choose. Usually, you’d want sands with larger grains as they are less likely to be blown away by the slightest breeze. The following are some of the sand variants that you can choose from.
- Mason Sand: This is one of the best options you can have as it can serve every purpose. Its grains are of medium size and they aren’t coarse, so you won’t feel uncomfortable walking barefoot on them.
- Beach Sand: It is exactly what the name suggests. This sand looks exactly like the sand on beaches all over the world. This means they don’t come in the more common tan color only, they also come in white as seen on some beaches in the world. It’s very comfortable to walk on, but this comfort comes at a price, literally. They are among the most expensive of all the sands available.
- Fill Sand: This is pretty uncomfortable to walk on barefooted, especially for children, because of their coarseness. It is a mixture of various sand types, as indicated by the variation of color within it. Normally it is used for construction work which can be a budget-friendly option for you.
- Concrete Sand: This sand is even more coarse than the fill sand as this is a mixture of sand and cement. Despite its coarseness,it is a very good option for the beach because of its larger granules which prevent it from being blown away.
7. Filling up the sand
After you have done all the hard work preparing the beach area, now it is time for filling it up with sand. You can use either heavy equipment or do it with a shovel. No matter how you do it, you have to start from behind the retainer wall.
The depth of the sand should be a minimum of 6 inches and a maximum of 18 inches. Whatever the depth may be, the retainer wall must be two inches taller than it. Create a slope with the sand to make the beach look like an actual one.
8. Decorating the Beach
Just knowing how to add a beach to a pond is not enough. To make it look like a real place to relax in, decorating the beach is a must. You can decorate your beach in the following ways.
- Using surfboards or towels: You can use bright colored surfboards or towels or any wooden or linen items to create a tropical scenery.
- Growing plants: Growing plants like rengarenga lily, silver spear, toetoe, Spanish dagger, etc which primarily grow in the beach area, you will be able to bring a realistic feel to your beach.
- Creating a fire pit: You can also have a beach party after the sunset by adding a fire pit or bonfire. But make sure to get a permit for building one as you might need one depending on where you live.
- Adjusting lighting: To avoid direct sunlight from harming your skin, add a canopy or some sort of shade like a beach umbrella. For dusk and night, you have the option of candles, fairy lights, lanterns, etc.
- Adding beach themes items: Having some beach balls, shells and floats will only add to the aesthetics of your beach, making it more realistic.
Maintenance
Although taking measures against the weed, it may rear its head from time to time. To counter that, you can use rakes. It will help you uproot any weed that may be growing underneath the sand. You can also herbicides that are approved by the environment protection authorities of your respective areas.
Enjoy your mini beach
Now that you have known all about how to add a beach to a pond, do not waste any time. Get your permits, gather your materials and build yourself a nice beach to add to the beauty of the pond.


