While building a pond anywhere on your own is tough itself, building one in sandy soil takes a lot of effort. But without proper planning and knowledge, the pond won’t be ready just with effort. We often don’t consider the whole process before starting and give up midway. This article is going to take you from inception to completion regarding building your pond.
There are a few steps you need to complete in order to have your dream pond in sandy soil. all these processes are written in chronological order so you can do them one by one and move forward. from how to assess your land to how to treat the water in the pond. everything is covered in one article for you.
How to build a pond in sandy soil: Step by step procedure
First of all, let’s break up the whole process into a few simple steps. Starting with digging and excavating the soil, constructing and preparing the foundation, and installing a suitable filtration system.
We all know that the most cost-efficient way of doing anything is to do it yourself. As you have intended to craft a pond in sandy soil following DIY-style, this post will guide you to accomplish the task swiftly with less effort. So, let’s begin…
1. Survey and examine the selected area and make sustainable plan
You need to do a proper assessment of what type of soil you are working with, how large you want your pond to be, what is your budget and how much time frame do you have to get it done etc. It’s important to remember that without proper assessment a project is more likely to fail.
After going through all these, you can create the dimensions for your pond. Roots and plants which might affect the progress should be removed. Keeping the foundation of the soil strong is very important because it prevents other problems in the future. And one other thing to measure is the incline of the soil.
All things aside, the biggest concern that people have while digging is the increased chances of the pond collapsing. Well, you won’t be going through this trouble. Here, You will also learn how to prevent this and keep your pond steady and long-lasting in sandy soil.
2. Start the Excavation Process
The excavation process depends on your requirements. A small pond can be made with a few shovels and some people. Though it is kind of a lengthy and tough process, it will save you a lot of bucks.
When it comes to a big pond, it’s not possible to get the digging done without an excavator. Because you will have to cover a lot of space and dig deeper.
On the other hand, an excavator can help you get the work done easily. Especially in most cases, people use an excavator as it can dig much faster, deeper, and precisely. So, chances of uneven digging or out of the area digging is very less.
The duration mostly depends on the size and shape of the pond, what kind of excavator you are using, and the quality of soil as well.
3. Create Strong Ledges for your Pond
You can use boulders, rocks, and gravel to make the foundation sturdy for your pond so you can deal with sandy soil. When you are done digging the perfect hole for your pond, you should push rocks and boulders into the sidewalls to make it strong and supportive.
Then you can give the edge a slight inward slope. You can spray water for a minute using the garden hose to damp the soil. This makes it easier to compact it. Then what you need to do is fill the bottom of your pond with gravel. Make sure you have around three inches of layering to ensure a sturdy base.
Finish the process by placing some heavy rocks around the edge of the gravel bottom ,which will give support to the sidewalls and that’s it. You have perfect strong ledges for your pond.
4. Selecting the Perfect Liner
There are a variety of liners for ponds in the market. But the most appropriate liner that you can go for is rubber liners. The main benefit of rubber liners is that they can retain water without letting it fall through the sand. Also helps with hindering evaporation as rubber liners are a lot colder than sand.
Selecting a good liner is very important since it helps to retain water. especially in sandy soil, you should focus on selecting the best possible liner. The two most important factors to consider while selecting a liner should be if it can retain water sufficiently, and if it’s long lasting.
We all know, the rubber liners are very cost-effective and durable. You can use them for years without any damage, which makes the rubber liner the best choice.
Even after having all the qualities, if you still don’t feel like using a rubber liner, you can go for another popular and durable option which is RPE (Reinforced Polyethylene Liner). Long durability and reasonable pricing are the perks of using this.
At times we are picky, especially if we are doing something with dedication, we want to make sure of the perfection in it. if this is the case, and you are still wondering if there is something else available, well there is.
This is one unique option commonly goes by the name HDPE (High-density Polyethylene). It’s a thermoplastic pond liner which is often used in cold climates. It’s a great choice as well, but not as flexible as a rubber liner.
5. Ensuring Proper Plumbing
For plumbing your pond, PVC pipe is the best option out there in the market. It is available at a reasonable price and provides long-lasting service. It’s flexible and can be used in any shape for your pond plumbing.
Then comes the important question. What kind of pump should you use? Well, there are tons of brands and categories, but the general rule of selecting a pump is that the pump should be able to regulate the entire volume of water in the pond one time per hour. Now if you are not certain about the volume of your pond, don’t worry. Measure the length, width, and height of your pond, and here’s how you can calculate.
Multiply this out by a conversion factor of 7.5 and you will get a clear idea of how many gallons the volume is. for a better understanding, say your pond is 15 feet long, 8 feet wide, and 4 feet deep.
You have to multiply the three, 15*8*4=480 cubic feet. Then to transfer it to a gallon, multiply cubic feet by 7.50.
So, a pond having a length of 15 feet, a width of 8 feet, and a depth of 4 feet contains= 480*7.50=3600 gallons of water.
But it’s important to bear in mind that, if you invest a few extra bucks for a good pump, the maintenance cost will be less. Which will eventually make up for the high price.
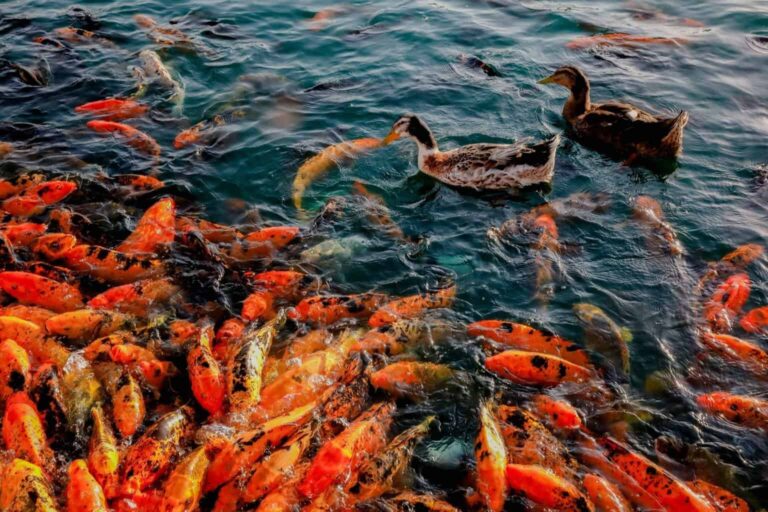
If you are planning to add some aquatic life to your pond, then a good quality pump is a must for you. Because the better the pump is, the clearer and better-aerated water you will get. Which will improve the overall health of the water of your pond where your fishes can survive.
6. Don’t Forget to Add Filtration
There are two ways you can filter your pond. Analog and digital way. Filtration is extremely important because Algae growth and debris will be more and more as time goes by making the overall water health unsustainable. So, the analog or the cheaper way in other words is to simply filter your pond with a net.
But it’s neither that effective nor efficient with respect to time and effort. It’s better to go digital and install an automatic filter. Which might cost a little more, but is worth installing. Because it will be saving you countless hours of work by automatically keeping the pond clean and fresh.
7. Treating your water
Now that you are done with building your pond, for the rest of the time you have one and only one job. That is to add and treat the water for your new pond.
And obviously it’s not rocket science, rather it’s easier than the steps you have completed. But what people often do is they forget to treat water properly. Or maybe they don’t think treating the water is important.
After you add water, you might notice displacement of sand here and there. Don’t stress out because they will settle on their own soon after you turn the hose off. Then when you are done with filling up your pond, you just have to keep treating it so it stays clean.
For treating purposes you can add chlorine. It kills most of the pollutants. But keep in mind to add chlorine in an appropriate amount. Purchasing a pH scale may help with measuring if the chlorine amount is fine. And after that, VOILA. You have your pond on sandy soil, Enjoy.
A few Maintenance Tips for You
You have your pond ready, water in, everything nice and tidy. But in the long run, things won’t be the same if you don’t follow these things.
- Make sure you keep the plants born on water clean and trimmed.
- If you have aquatic life, make sure the water is fresh and breathable.
- Control ice in winter and maintain the right water level throughout the year.
- Don’t forget to keep the water chemistry optimum.
- Make sure to troubleshoot and repair any leaks if found immediately.
Final Words
The self-satisfaction that you will get once you complete all the aforementioned processes is worth all the hard work. Maybe go for a swim as soon as you are done with building your pond. And don’t forget to maintain proper cleaning and treatment.